How to Deploy a PHP and MySQL site to Heroku and configure the database with PHPMyAdmin
-20 November 2020
Intro
Heroku offers a generous free tier for hosting up to five full-stack projects. But documentation for getting a PHP with MySQL site up and running with Heroku is poor - it took me way to much Googling. Yet the process isn't difficult, so I created this blog post to help others and myself in future deployments.
I also made a video tutorial which you can follow along to.
1. Create an account on Heroku and download Heroku CLI tools
Sign up to Heroku here.
Then download the Heroku CLI tools to allow you to write Heroku commands from your command line.
2. Open up your project folder in CLI
I’m using VS code’s integrated terminal and like to store my files in /c/xampp/htdocs/project-name but you can choose whatever you prefer.

3. Login to Heroku from the terminal
We next issue the command “heroku login”, then press any key. A login page will be opened in the browser where you can login.

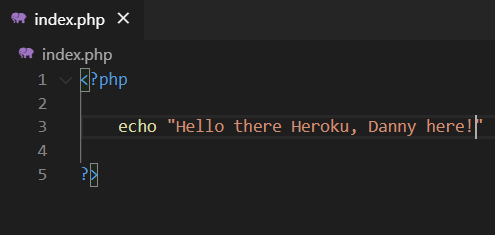
4. Create an initial PHP file
We will deploy this test file.
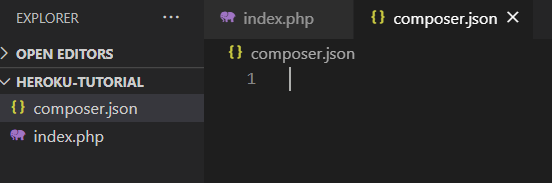
5. Create a composer.json file
Every PHP project is required to have one when deploying to Heroku.
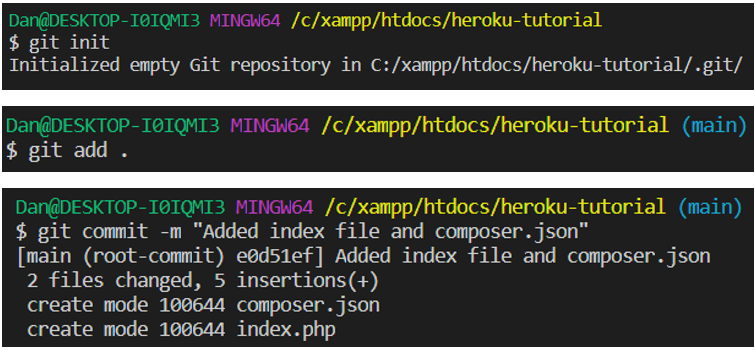
6. Initialise a git repository, add everything then commit
git initgit add .git commit -m "Added index file and composer.json"
Now for the Heroku stuff!
7. Create an Heroku project
This can easily be done through the command line but I prefer to use the Heroku website.
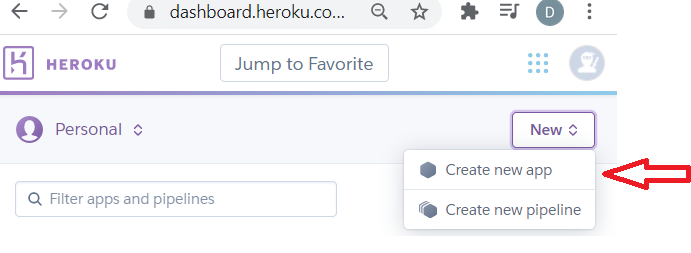
Login to Heroku and go to your apps dashboard.
Then click “create new app”.
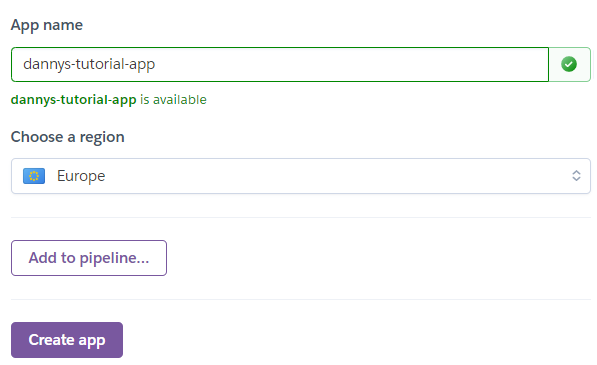
Choose any available app name you want, choose your region, then click create app.
8. Push the app to Heroku
Tell git the remote Heroku repository we want to push to:
heroku git:remote -a dannys-tutorial-app
Replace “dannys-tutorial-app” with your app name from the previous step.

Then deploy to Heroku! Make sure to state the correct branch, here I am using the main branch:
git push heroku main

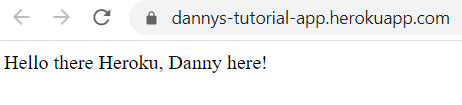
Heroku will then provide you with the URL to your app.

And here we have it, our app has been deployed!
9. Now to add a MySQL database
During development of your app, your app wouldv’e been connected to a local database on your machine which Heroku has no access to. So we need to set up a new MySQL database within Heroku. To do this we need to add the “ClearDB” add-on to our app.
Go to your app dashboard (https://dashboard.heroku.com/apps) and select your app.
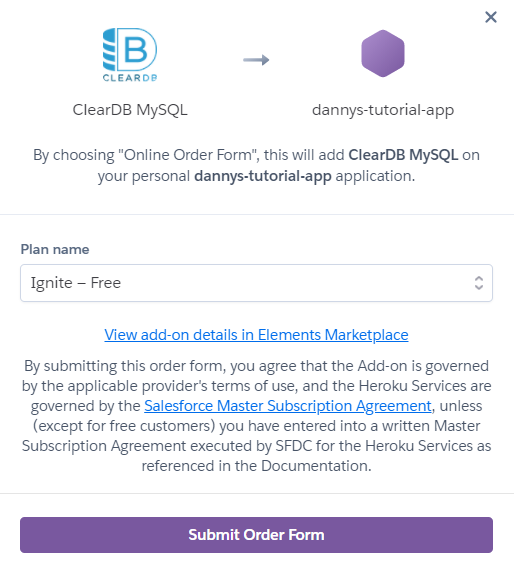
Click Resources then add the ClearDB Add-on:
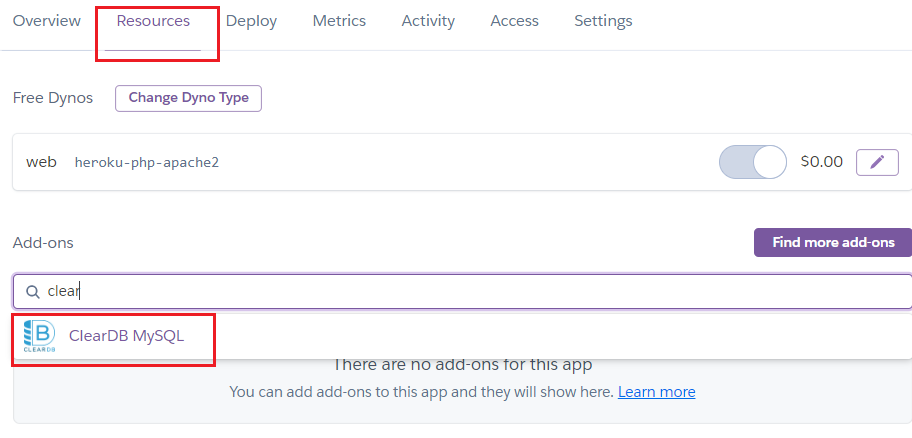
Be sure to select the free option then submit the order. You will probably be prompted to add your credit card details. Unfortunately this is required in order to add add-ons such as this to your project. But as long as you select the free option, Heroku won’t charge you.
10. Get your database URL
Got to “settings” then scroll down to “config vars”. Copy your database URL into a text editor or word document for later use.
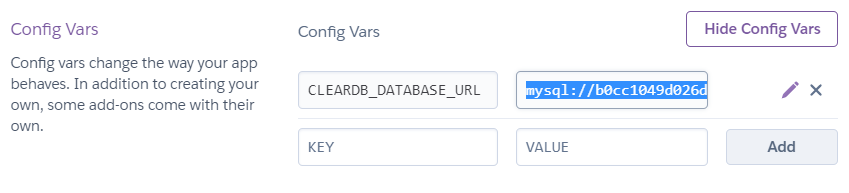
Here’s mine: mysql://b0cc1049d026d1:da2394e8@eu-cdbr-west-03.cleardb.net/heroku_3b61f10a737bcca?reconnect=true
The URL contains the information you need to connect to your new Heroku MySQL database via PHPMyAdmin:
Username: b0cc1049d026d1
Password: da2394e8
Host: eu-cdbr-west-03.cleardb.net
11. Configure PHPMyAdmin to connect to the database
We now need to tell PHPMyAdmin our Heroku database information so that it can connect to it.
You need find your config.inc.php file which stores configuration information. My PHPMyAdmin came with XAMPP and so my config file is located here:
C:\xampp\phpMyAdmin\config.inc.php
Open up this file in any text editor, I’m using VS code but you could use something like notepad as well.
Copy the code below to the bottom of the file (but still within the PHP tags). Change the host, username and password to the one’s you obtained from the URL before.
/* Heroku remote server */$i++;$cfg["Servers"][$i]["host"] = "eu-cdbr-west-03.cleardb.net"; //provide hostname$cfg["Servers"][$i]["user"] = "b0cc1049d026d1"; //user name for your remote server$cfg["Servers"][$i]["password"] = "da2394e8"; //password$cfg["Servers"][$i]["auth_type"] = "config"; // keep it as config12. Configure your Heroku MySQL database
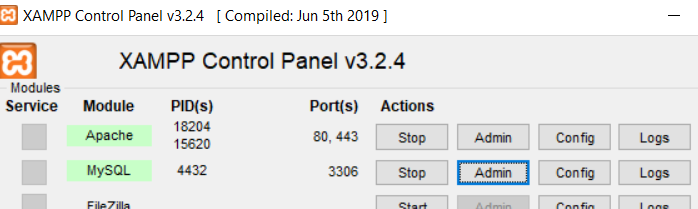
Open up PHPMyAdmin. If using XAMPP it can be done as below:
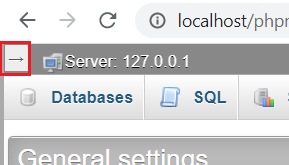
Open up the server side-panel and select your newly added Heroku server:
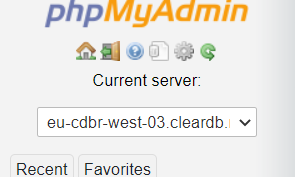
Go over to databases and select your Heroku database.

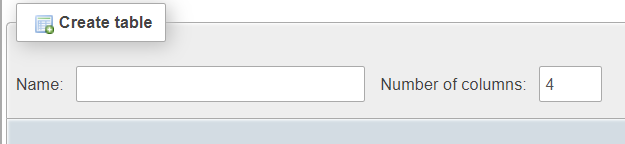
You can now create the tables you need in your database.
13. Connect to the Heroku database from PHP
Copy in the code below to load in your Heroku database configuration variables to your app. This will connect your app to the database.
<?php//Get Heroku ClearDB connection information$cleardb_url = parse_url(getenv("CLEARDB_DATABASE_URL"));$cleardb_server = $cleardb_url["host"];$cleardb_username = $cleardb_url["user"];$cleardb_password = $cleardb_url["pass"];$cleardb_db = substr($cleardb_url["path"],1);$active_group = 'default';$query_builder = TRUE;// Connect to DB$conn = mysqli_connect($cleardb_server, $cleardb_username, $cleardb_password, $cleardb_db);?>And that’s it! We have deployed a PHP project to Heroku, made a remote MySQL database, configured the database using PHPMyAdmin, and finally connected our app to the database.
If that was helpful, you can say thanks by subscribing to my YouTube channel. Leave a comment if you have any questions or feedback (positive or negative) :)


