How to Point DynaDot Custom Domain to Netlify
-14 April 2021
Pointing a custom domain to Netlify is very simple. However, I found the documentation to be confusing and it took me longer than it should have. So I made this post to save you the hassle!
- Purchase your custom domain from DynaDot. I purchased the domain www.60DaysOfMeditation.com
- Upload your app/website to Netlify.
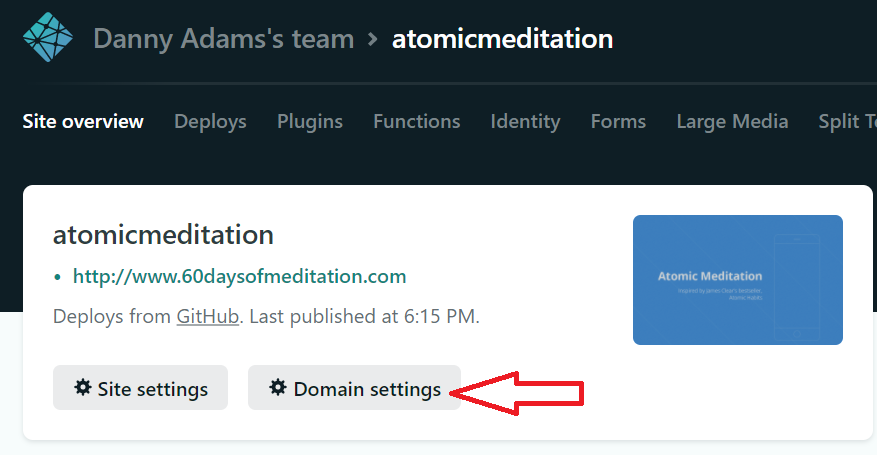
- Go to your app on Netlify and click “Domain Settings”.
- Click “Add custom domain”.
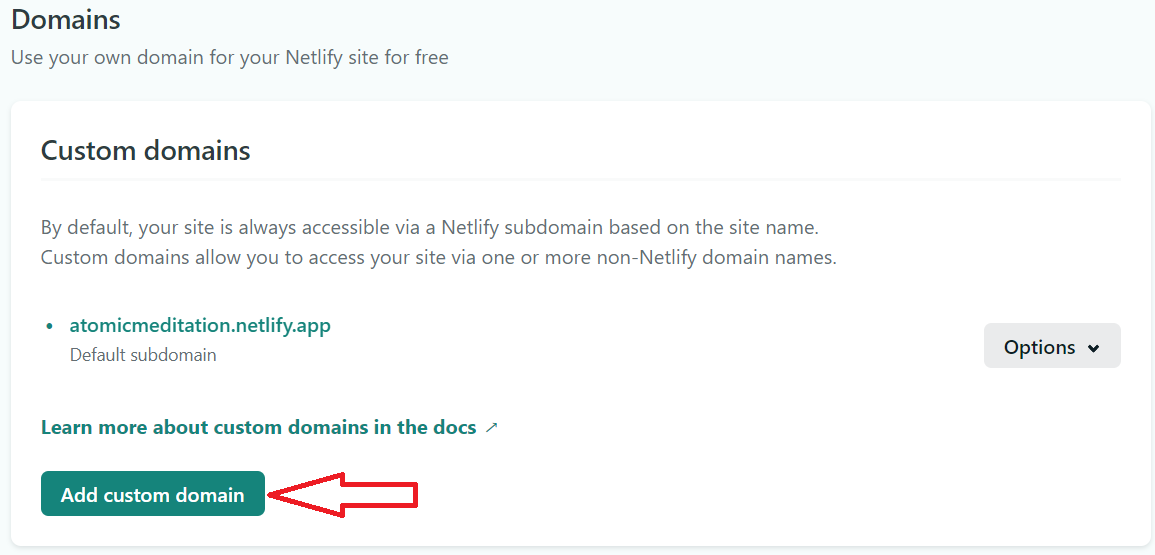
- Add your custom domain that you purchased from DynaDot and click “verify”. Then click “yes, add domain”.

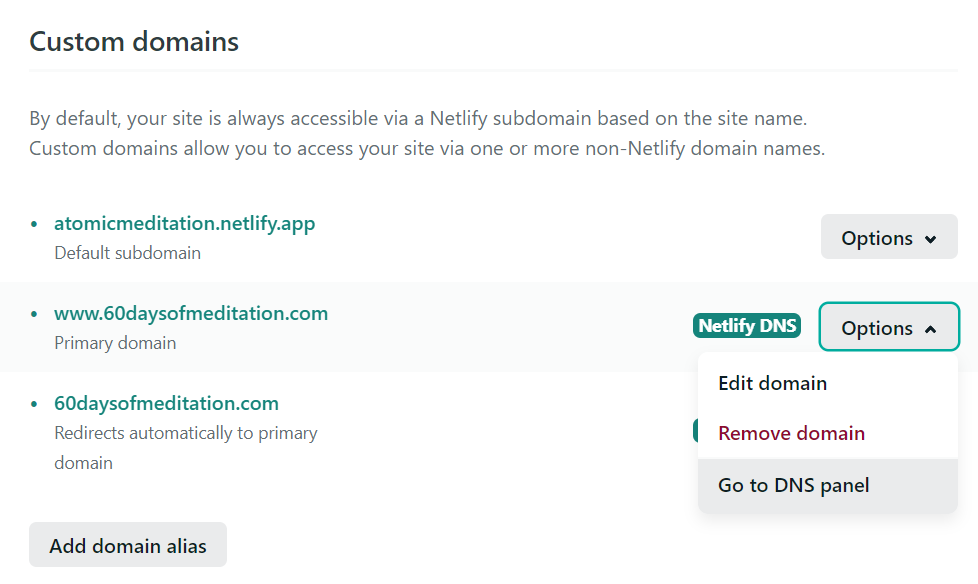
- As we can see, www.60daysofmeditation.com has been added as the new primary domain. Netlify also automatically makes you a subdomain without “www.”, so if someone types just 60DaysOfMeditation.com, Netlify redirects to the primary domain, nice!
- Now we need to point our DynaDot purchased domain name server to Netlify. Click “Go to DNS panel”.
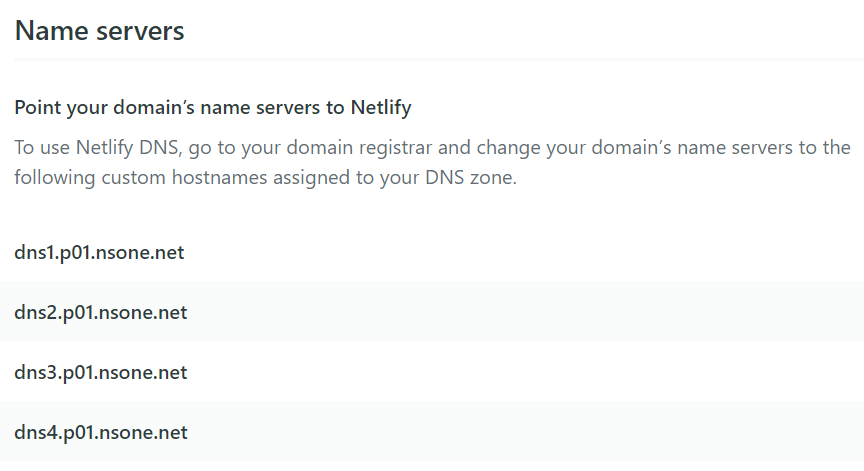
8. Point your domain’s name servers to Netlify
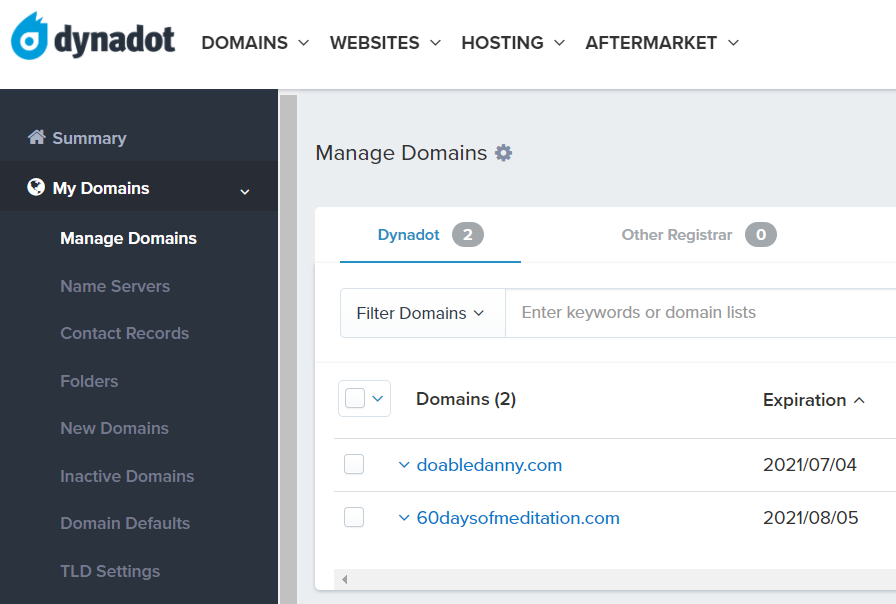
Go to DynaDot and into “manage domains”. Click the domain in question (in my case, 60DaysOfMeditation.com).
Click DNS settings.
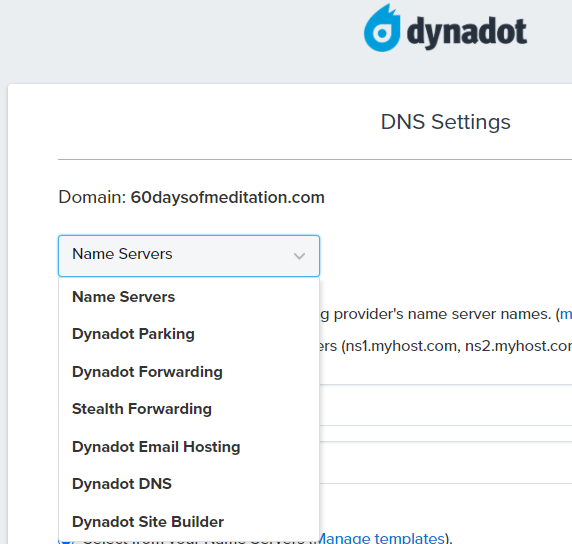
Select “Name Servers”.
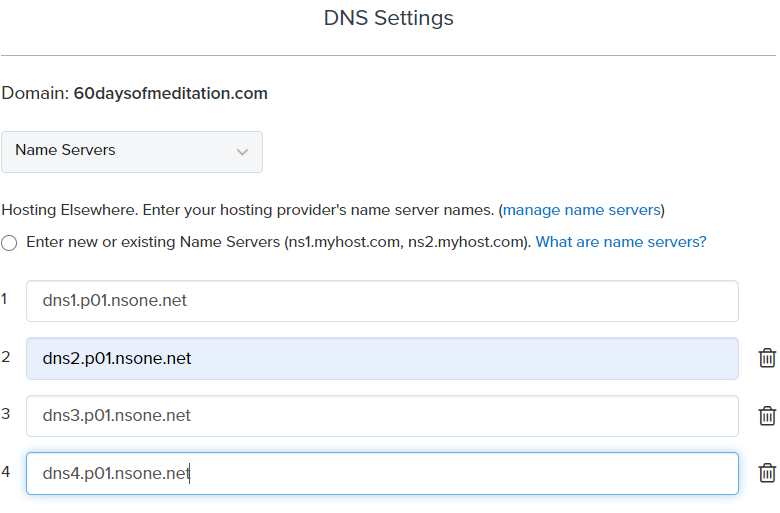
Copy in your custom hostnames from Netlify and click “save name server”.
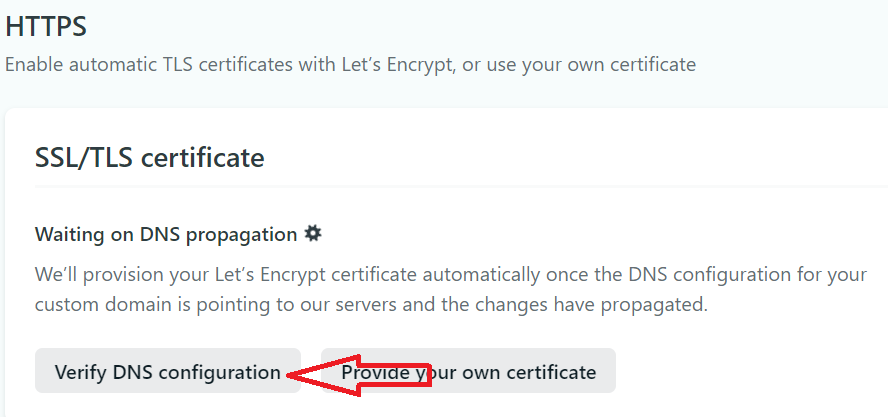
9. Verify DNS configuration
Wait 10 minutes then go back to Netlify and into your site’s “domain management” setting.
Click “verify DNS configuration”.
If you get an error, try clicking it again a couple of times or try it a little later and it should work.
And that’s it! My website can now be accessed via www.60DaysOfMeditation.com . Fantastic!
If that was helpful, you can say thanks by subscribing to my YouTube channel where I post coding tutorials.
Have a great day!


